I started by creating a new illustrator file that is 12" x 12".
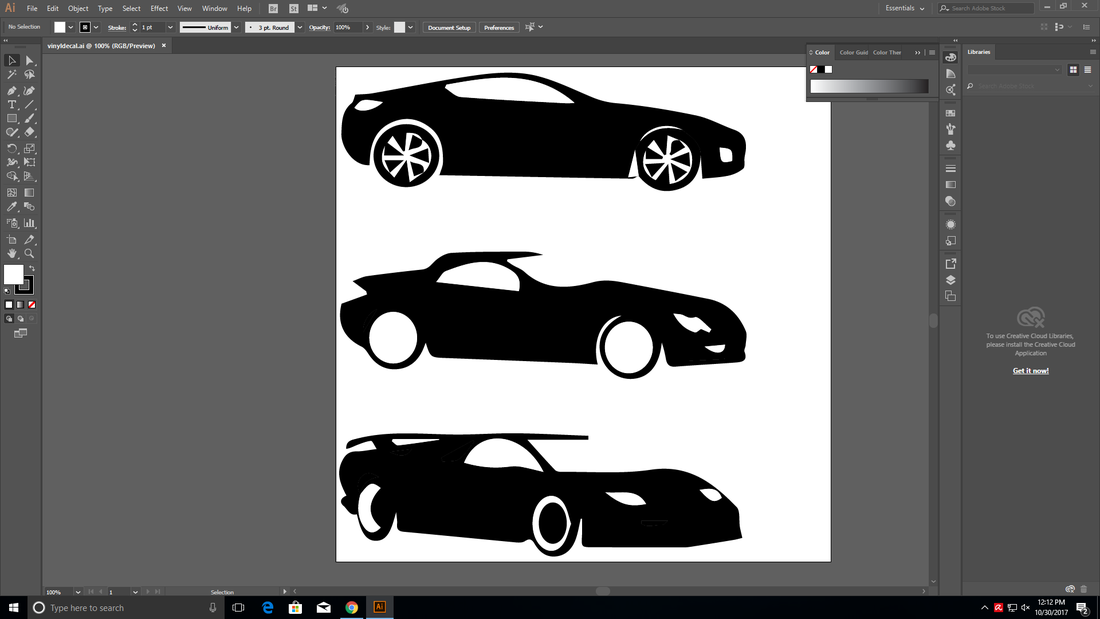
After creating the file I copy and pasted an image of 3 cars. I traced the image using the trace tool. This made it so the vinyl cutter will be able to read where to cut.
|

|
|
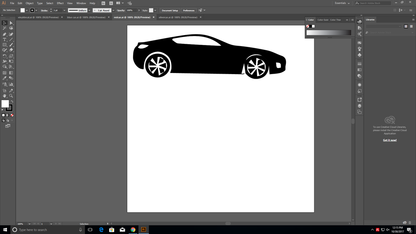
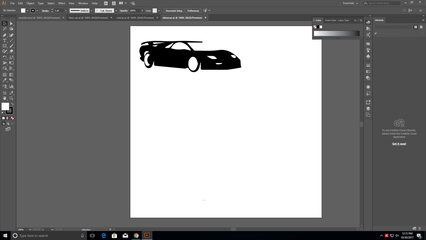
I had to create 3 separate files for each of my cars since each car is a different color.
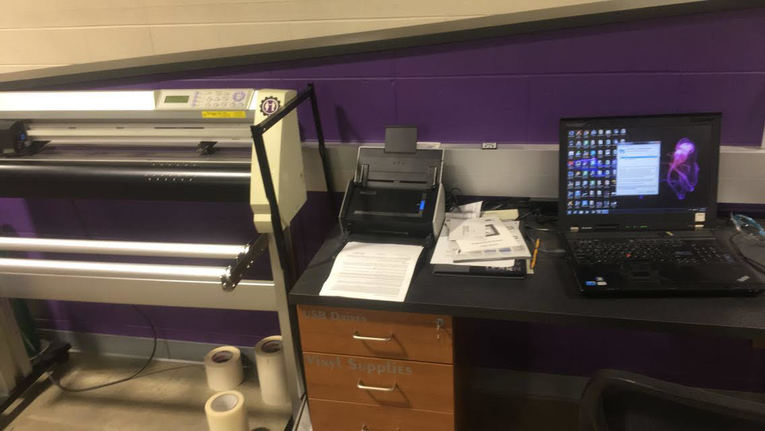
I then put these files on a flash drive and began the cutting process. I open the files on the computer by the vinyl cutter.
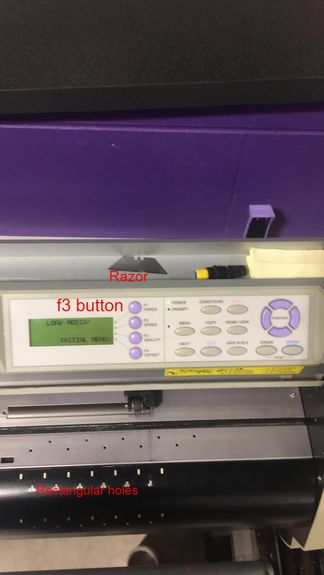
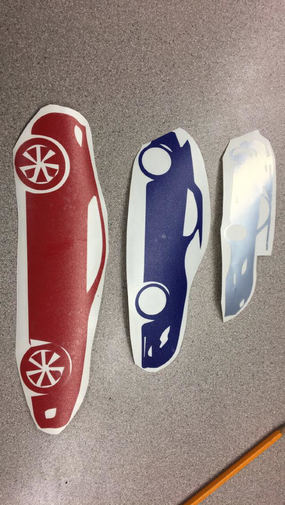
You then select f3 so the vinyl cutter knows which roll of vinyl you are going to be using. Then you line up the edges of the vinyl with 2 rectangular holes on the vinyl cutter. Lock the wheels in place. Then the vinyl cutter is ready to cut. After the vinyl cutter finishes you have to take a razor blade and cut the vinyl with your image on it from the rest of the vinyl. This leaves you with the image below.

|
|
|
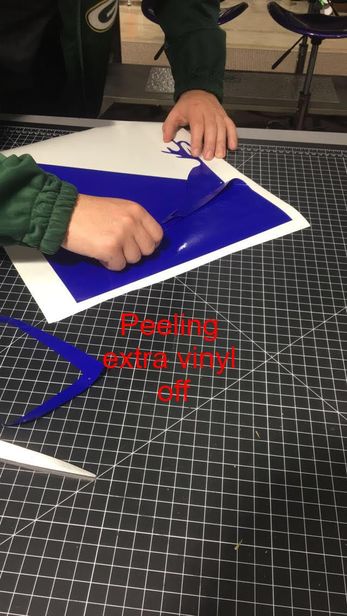
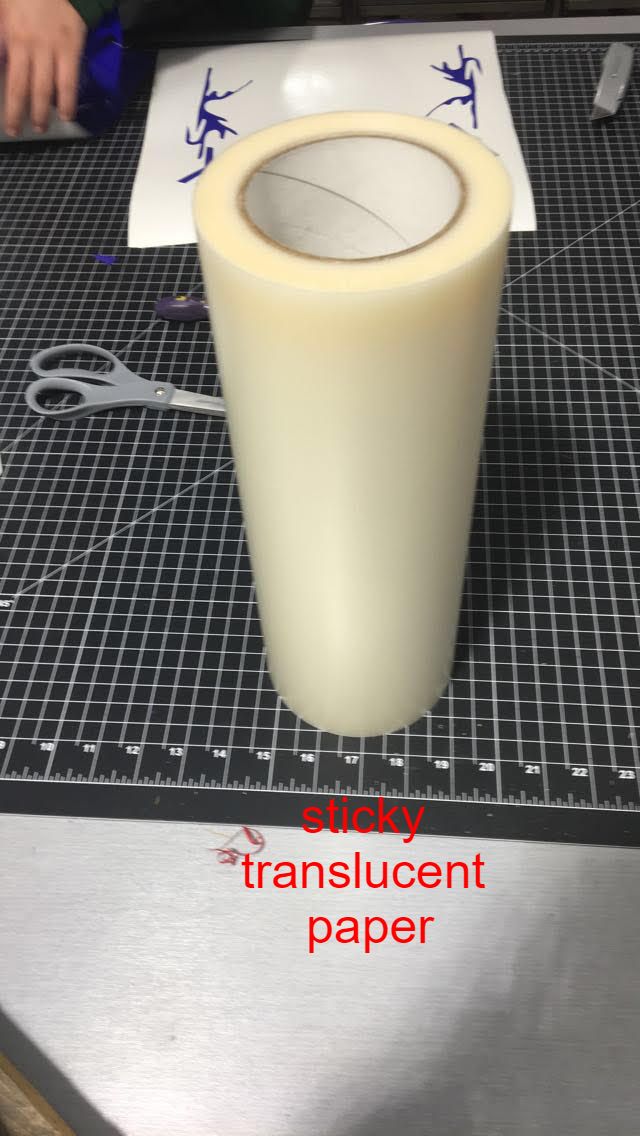
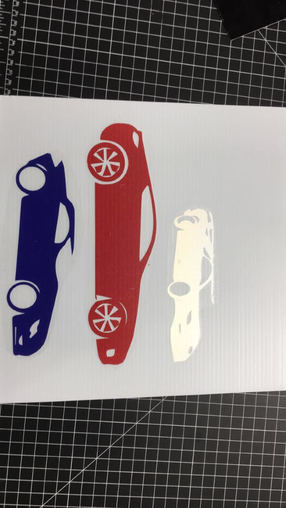
After the vinyl cutter had cut out each of the cars I had to use dentist tools to remove any pieces that I didn't want on my design. Then I layed what was left onto a sticky translucent type paper. After I cut out any unnecessary white space which left me with this.
|
|
After that step I went over the vinyls with a squeegee one last time and put them onto a board.
Summary:
In this rotation I learned multiple things. I learned that using the vinyl cutter is easy to use. I also learned that complicated images won't work for vinyl cutting, and that you can't have multiple colors on a single vinyl.
